How to Root BlueStacks: A Comprehensive Guide
BlueStacks is a popular Android emulator that allows users to run Android apps on their PC. While it provides a great out-of-the-box experience, there are some advanced tasks and apps that require root access to function. Rooting your BlueStacks emulator can unlock its full potential, allowing you to customize, modify, and optimize your Android environment. In this guide, we’ll walk you through the steps to root BlueStacks and explain why rooting can be beneficial.
Why We Need to Root Emulators
Rooting an Android emulator like BlueStacks is often a necessary step for users who want more control over their emulated environment. While BlueStacks offers a robust Android experience, it’s still limited in its default state. Rooting the emulator is akin to gaining administrative privileges on your Windows PC. It allows you to access system files and settings that are otherwise hidden or protected. Here’s why you might consider rooting:
- Full Control Over the System:
- Enhanced Customization:
- Running Advanced Apps:
- Optimizing Performance:
- Exploring System Internals:
Rooting gives you complete access to the Android system running inside BlueStacks. This means you can tweak and modify system files, remove bloatware, and install apps that require root access.
Without root access, your customization options are limited. With root, you can change the appearance of the OS, modify UI elements, and even apply custom themes that would normally be restricted.
Some apps are designed to operate only on rooted devices. These could be backup tools that require access to system-level data, advanced file managers, or even certain game cheat engines. Rooting enables you to run these apps seamlessly.
Rooting allows you to perform actions like overclocking your CPU, which can significantly boost performance in resource-heavy games or apps. You can also remove unnecessary apps and services that are using up valuable resources, leading to a smoother experience.
For developers and advanced users, rooting opens up the possibility to explore the Android system’s internals. You can study how different components work, make tweaks to improve system stability, or even test out new features before they are officially released.
What Is the Use of Rooting an Emulator?
The benefits of rooting an emulator like BlueStacks extend beyond mere curiosity. Rooting transforms your emulator from a simple Android runner to a powerful tool capable of running advanced apps and custom modifications. Here’s a closer look at the uses:
- Installing Root-Only Apps:
- Modifying System Files:
- Removing Pre-installed Bloatware:
- Improving Performance:
- Installing Custom ROMs:
- Security Testing:
Some of the most powerful Android apps require root access to function. For instance, Titanium Backup, a popular app for creating full system backups, requires root. Similarly, AdAway, a system-wide ad blocker, also needs root access to modify the hosts file.
With root access, you can modify system files that control the behavior of the OS. This can be useful for a variety of purposes, such as tweaking system settings, removing bloatware, or even adding new functionality that wasn’t originally present.
BlueStacks, like many other emulators and Android devices, comes with pre-installed apps that you may never use. These apps can take up valuable system resources and slow down your emulator. Rooting allows you to remove these unwanted apps, freeing up space and improving performance.
Root access gives you the ability to make performance-enhancing changes to your emulator. You can overclock the CPU, manage memory more efficiently, and even change how system processes are prioritized, all of which can lead to a more responsive and faster emulator.
Although this is more common on physical Android devices, some users like to experiment with custom ROMs—versions of the Android OS that have been modified for performance or features. Rooting is a prerequisite for installing these ROMs.
For those involved in ethical hacking or security research, a rooted emulator can be an invaluable tool. It allows you to test security vulnerabilities in a controlled environment, explore how different security mechanisms work, and develop better security practices.
How to Know if Your Device is Rooted or Not
Before you dive into rooting your BlueStacks emulator, it’s important to check whether it is already rooted. Here’s how you can do that:
- Install Root Checker:
- Open Root Checker:
- Interpreting the Results:
The easiest way to check for root access is to download the "Root Checker" app from the Google Play Store. This app is free and provides a simple interface to verify root status.
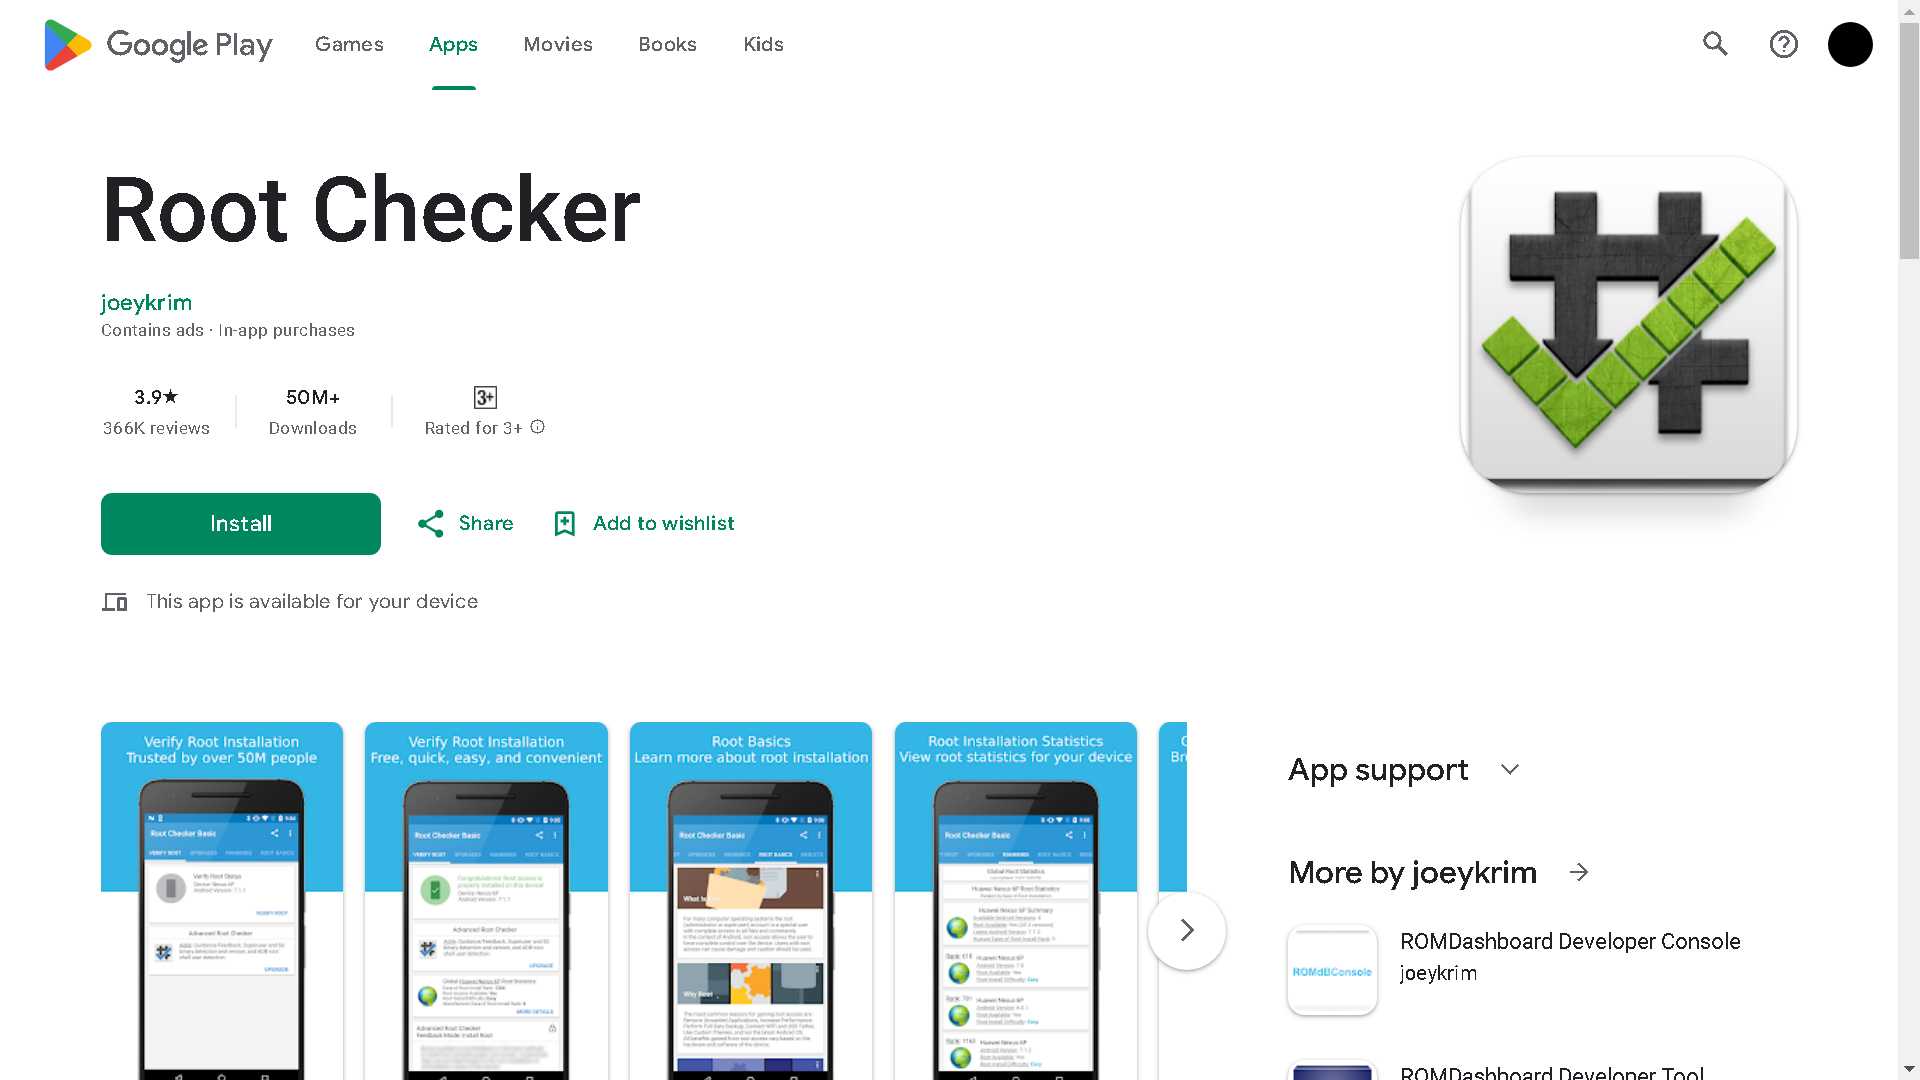
After installing the app, open it and tap on "Verify Root." The app will then check if your emulator has root access. If the app reports that your device is not rooted, you can proceed with the rooting process described below.
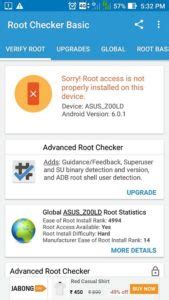
If Root Checker indicates that your device is not rooted, you’ll need to follow the steps in the next section to enable root access. If it shows that the device is already rooted, then you’re all set to start using root-enabled apps and features.
Rooting BlueStacks: A Step-by-Step Guide
Now that you understand the benefits of rooting and have confirmed that your emulator is not yet rooted, let’s move on to the rooting process. Follow these steps carefully:
- Open Your File Explorer:
- Enable Hidden Items:
- Navigate to BlueStacks_nxt Folder:
- Locate the 'bluestacks.conf' File:
- Edit the 'bluestacks.conf' File:
- Search for 'root':
- Change the Values:
- Save the File:
- Restart BlueStacks:
- Check Root Access Again:
- Celebrate Your Success:
First, open File Explorer on your PC. If your BlueStacks emulator is stored in the default location, you’ll find it in the C drive. If you installed it in a different location, navigate to that drive instead.
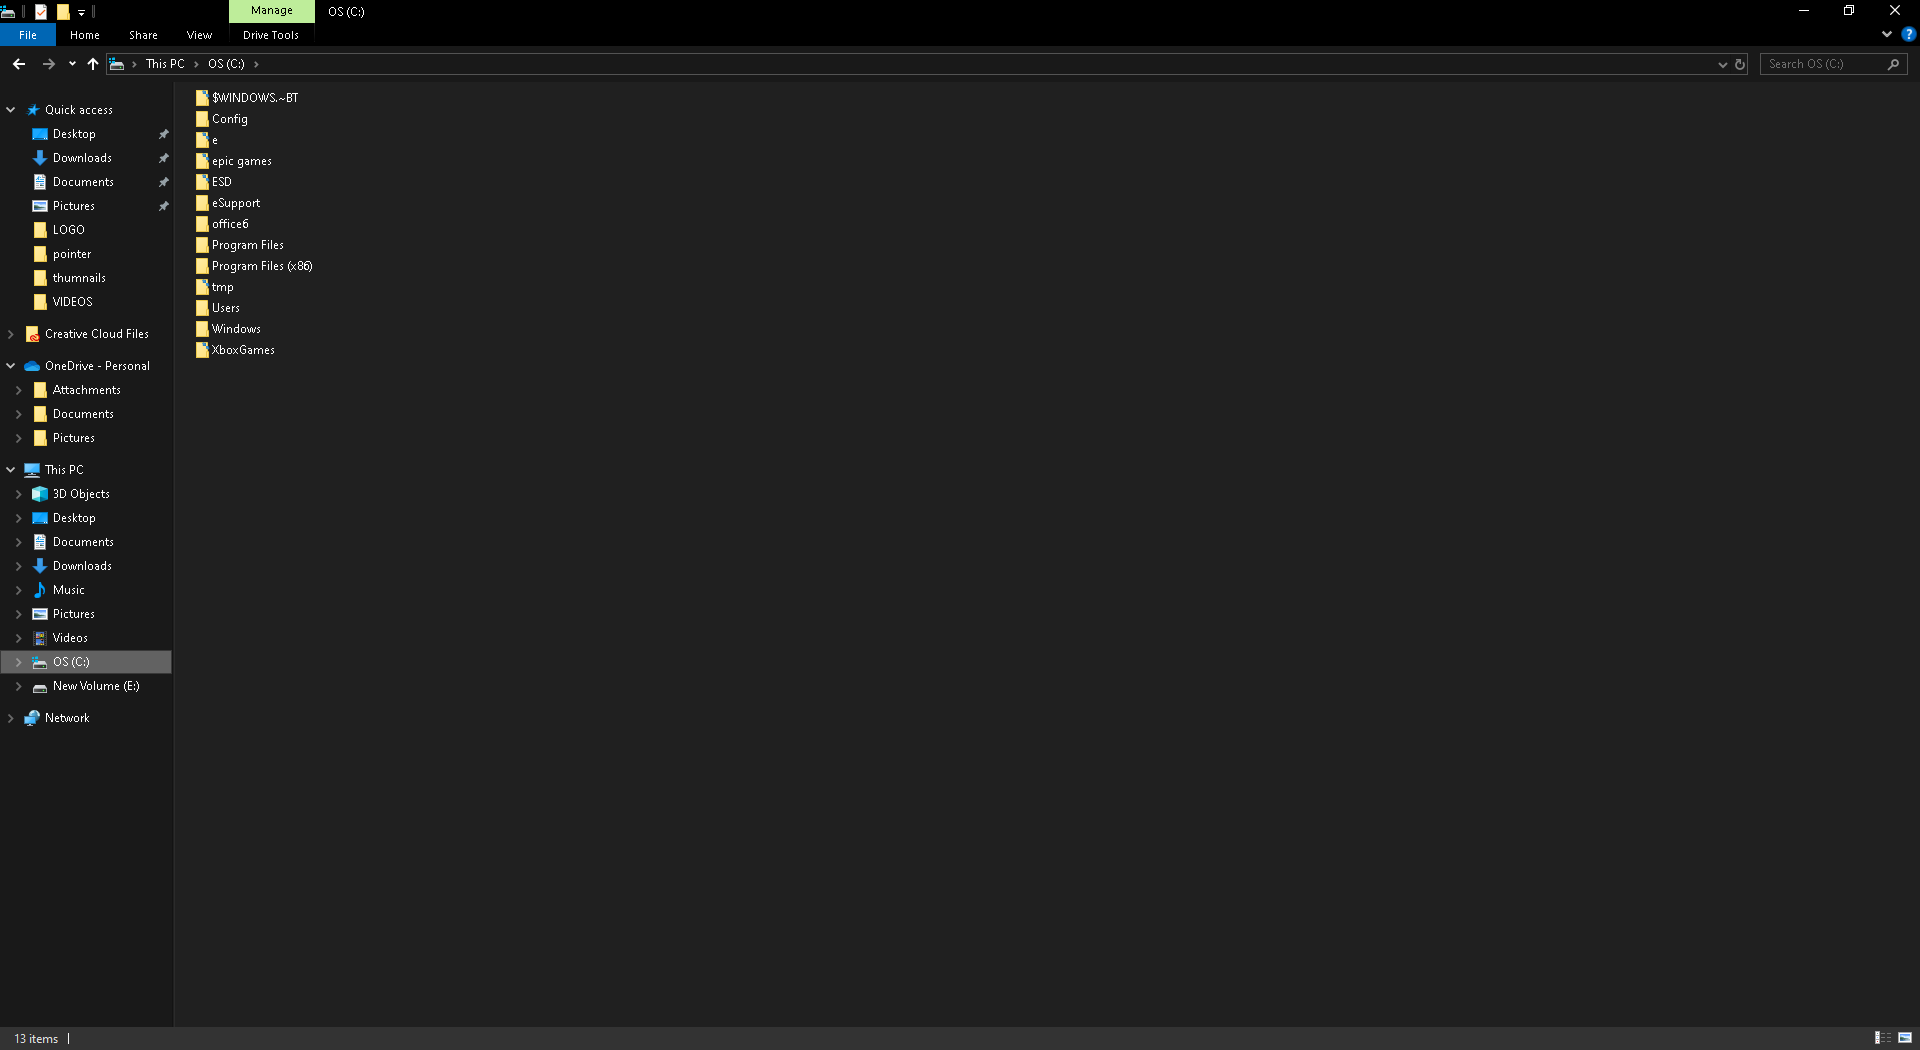
In File Explorer, click on the "View" tab at the top. Then, check the "Hidden items" checkbox. This will allow you to see hidden folders and files that are normally invisible.


Once hidden items are visible, navigate to the "ProgramData" folder on your C drive. Inside this folder, look for a folder named "BlueStacks_nxt" and open it. If you installed BlueStacks on a different drive, navigate to the corresponding folder on that drive.
Inside the "BlueStacks_nxt" folder, you’ll find a file named "bluestacks.conf." This file contains configuration settings for BlueStacks. It’s a good idea to make a copy of this file before making any changes. This way, if anything goes wrong, you can restore the original file.
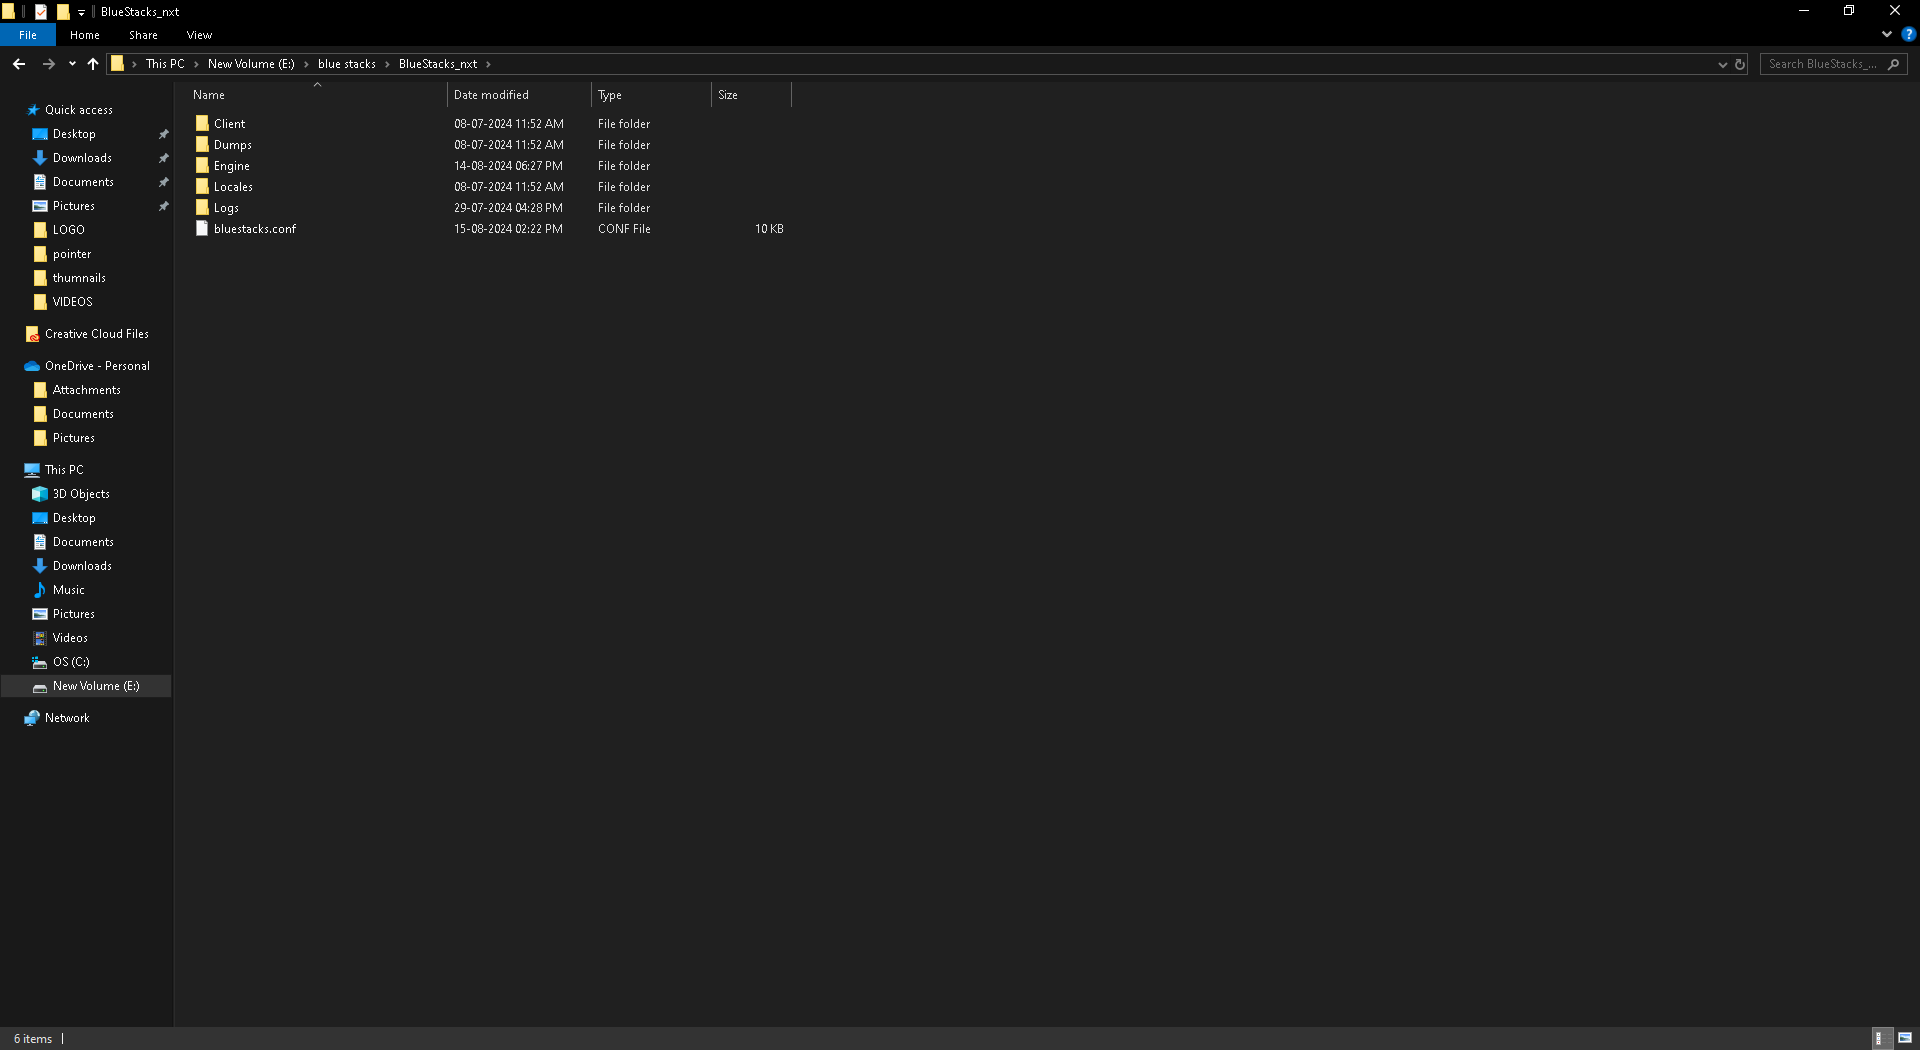
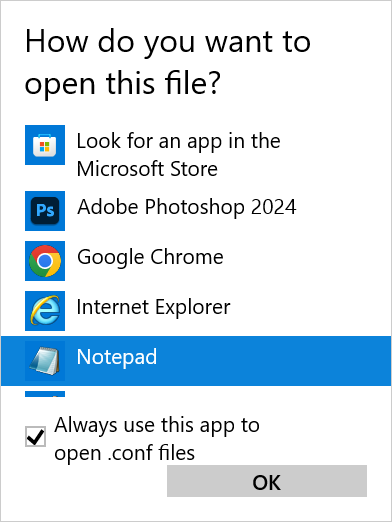
Open the "bluestacks.conf" file using your preferred text editor. Notepad is a simple option, but you can use any text editor you like.
In the text editor, press "Ctrl+F" to open the find function. Type "root" into the search box and press Enter. The editor will highlight all instances of the word "root" in the file.
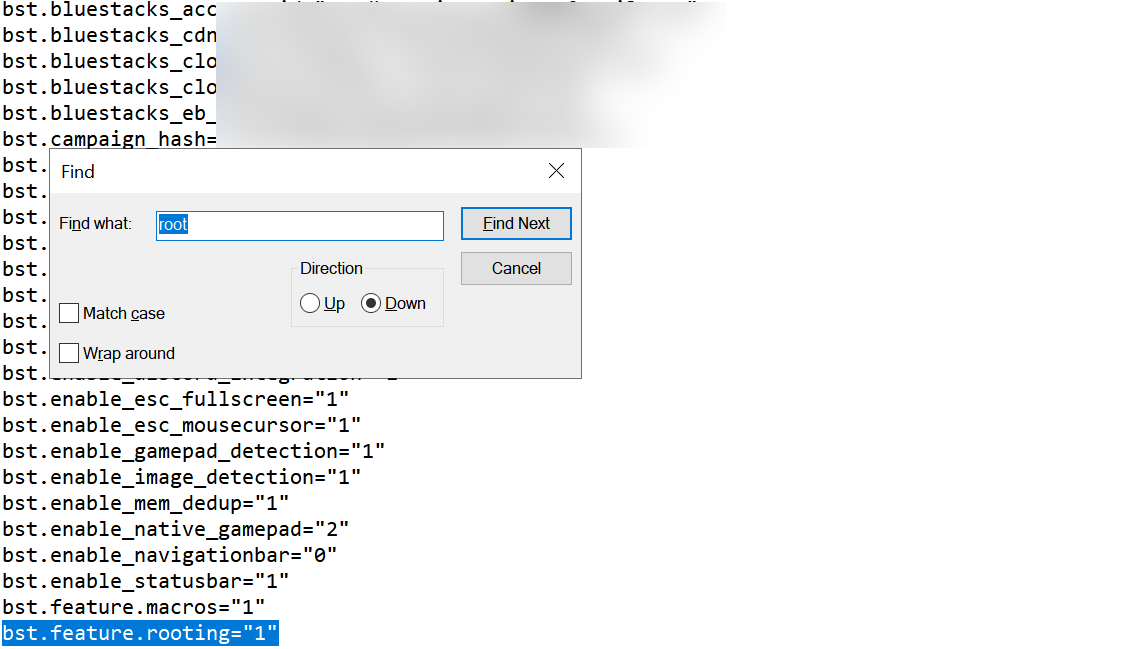
You’ll find that the root-related settings are set to 0, indicating that the emulator is not rooted. Change these values from 0 to 1 to enable root access. In most cases, you’ll find multiple instances of the word "root" in the file. Make sure to change all of them to 1.
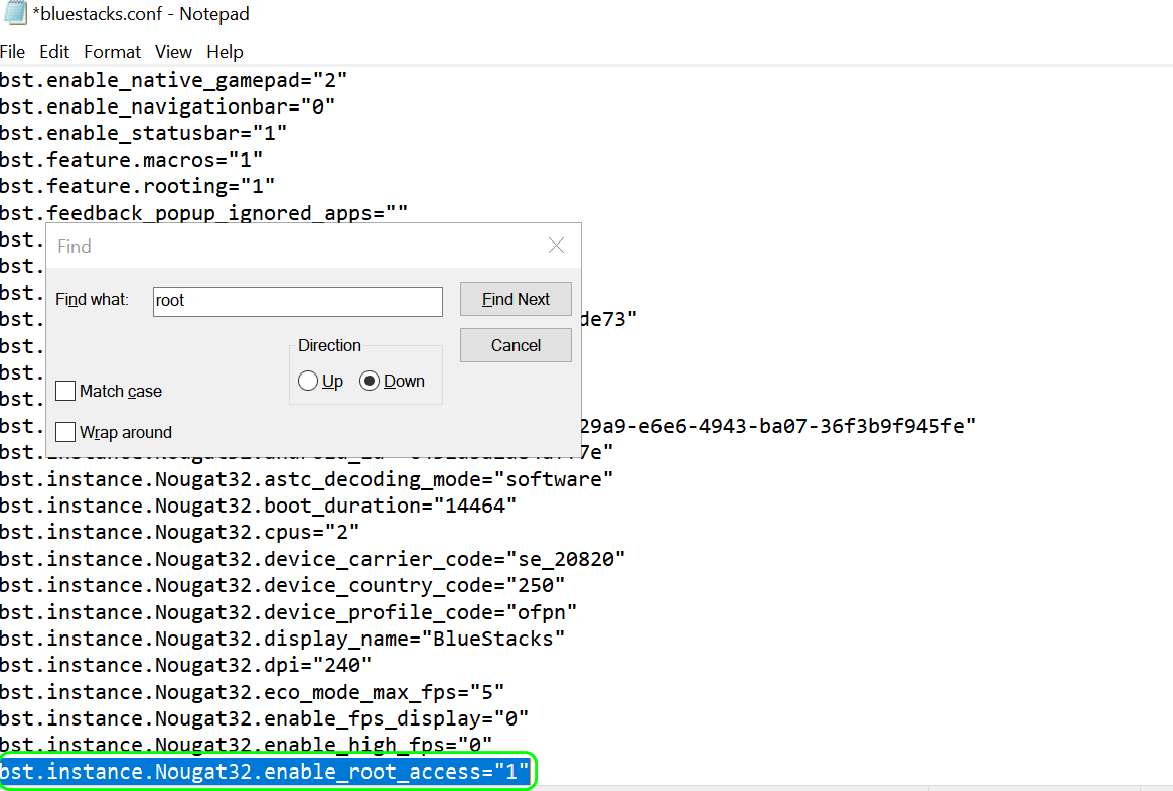
After making the necessary changes, save the file. It’s important to ensure that you save the file in the same location with the same name, so BlueStacks can read the updated configuration when it starts.
Close BlueStacks if it’s currently running, and then restart it. The emulator will now load with the new configuration, which should include root access.
To confirm that the rooting process was successful, open the Root Checker app again and tap on "Verify Root." If everything was done correctly, the app should now indicate that your device is rooted.
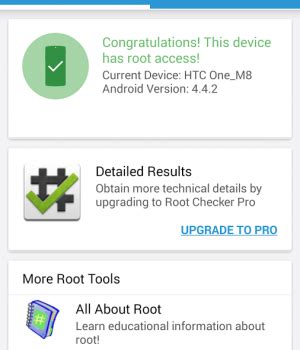
If Root Checker confirms that your emulator is rooted, congratulations! You’ve successfully rooted BlueStacks and can now enjoy all the benefits of a rooted Android environment on your PC.